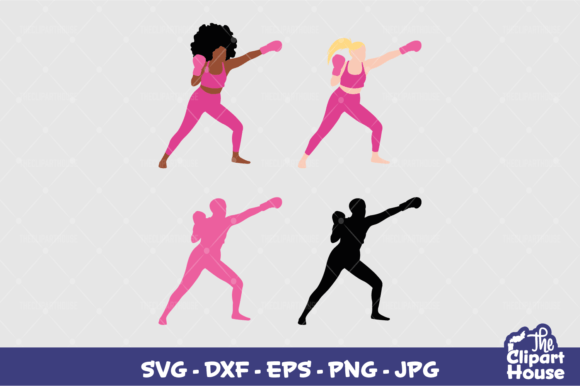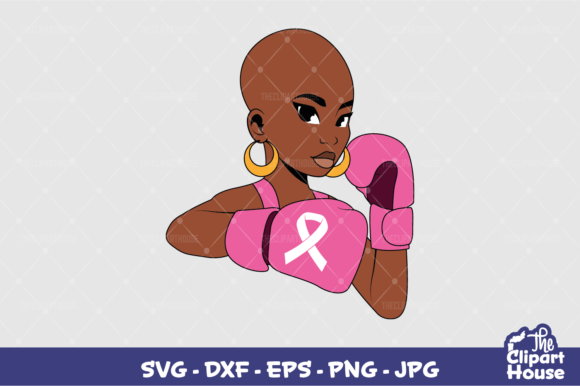
Breast Cancer Fighter 4: A Practical Guide to Using Your Design Files Effectively
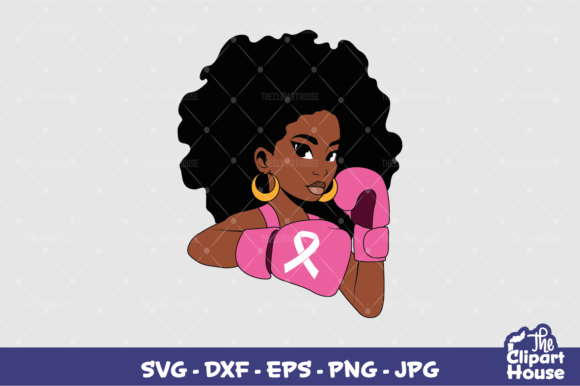
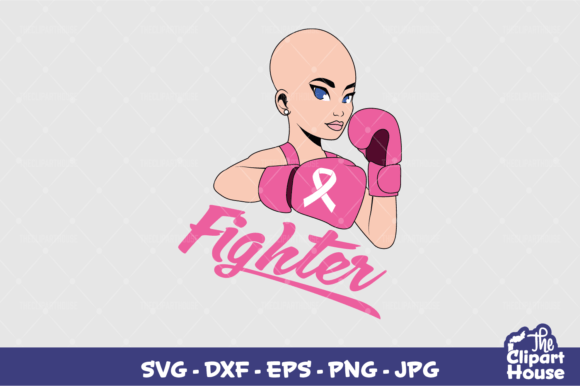
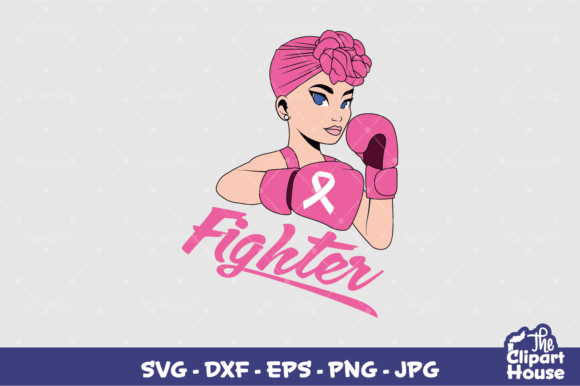
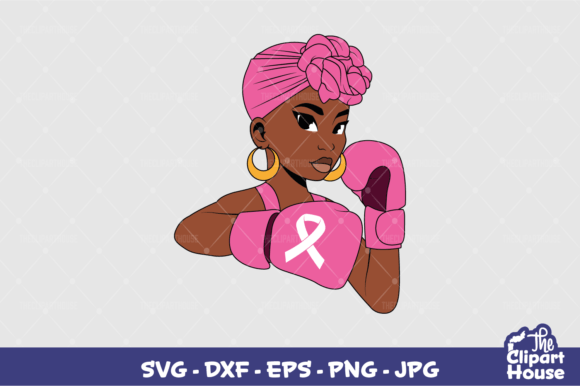
When you are looking for a meaningful way to show support, raise awareness, or simply wear your values on your sleeve, the Breast Cancer Fighter 4 design offers a powerful visual statement. It is not just another graphic; it is a symbol of resilience and solidarity that resonates deeply with many communities. However, purchasing or downloading a digital design file is only the first step. The true value lies in how you prepare, cut, and apply that design to your final product. Many creators—whether they are hobbyists using a Cricut Maker at home or professionals running a small Etsy shop—often overlook the technical nuances that separate a mediocre result from a professional-grade finish.
This guide focuses on the practical aspects of working with the Breast Cancer Fighter 4 files. We will look at common pitfalls in file handling, material selection, and machine setup. By understanding these details upfront, you can save time, reduce waste, and ensure that your tribute to breast cancer awareness looks as good as the sentiment behind it.
Understanding the File Formats You Received
You have received a comprehensive package containing an SVG, PNG, JPEG, EPS, and DXF file. While having multiple formats sounds like a luxury, it can also be a source of confusion if you do not know which file serves which purpose. Using the wrong file type is one of the most frequent mistakes beginners make, leading to frustrated users who think their cutting machine is malfunctioning when the issue is actually file compatibility.
- SVG (Scalable Vector Graphics): This is your primary file for cutting machines like Cricut Design Space or Silhouette Studio. It contains vector data, meaning it can be resized without losing quality. If you are planning to cut vinyl, heat transfer vinyl (HTV), or cardstock, this is the file you need. Ensure you open it in your specific software before sending it to the mat.
- PNG & JPEG: These are raster images. They are essential for printing, not cutting. Use these for sublimation, direct-to-garment printing, or creating stickers via inkjet printers. Do not attempt to send these directly to a blade-based cutter unless your software has a trace function, which often results in jagged edges and poor precision.
- EPS & DXF: These are older vector formats. They are useful if you are using Adobe Illustrator, Inkscape, or other advanced design software. If you find the SVG file does not import correctly into your preferred program, the EPS or DXF versions serve as reliable backups.
A critical tip: Always unzip your files immediately after download. Never try to edit or cut directly from inside the zip folder. Cutting machines require direct access to the file path, and compressed archives often cause connection errors or corrupted data during the cutting process.
Common Mistakes in Preparation and Weeding
Even with the perfect file, the physical application process can go wrong. One of the most overlooked steps is prepping your material correctly. When using Heat Transfer Vinyl (HTV) for clothing, the shiny side should face down on the carrier sheet, but the adhesive must face up. A common error is applying excessive heat or pressure too early. If you press the design onto the fabric before weeding (removing the excess vinyl), you risk melting the adhesive prematurely, causing the design to stick to itself or the backing paper in unwanted areas.
Another frequent misunderstanding involves the complexity of the Breast Cancer Fighter 4 design. Depending on the specific artwork, there may be fine lines or small negative spaces. If you choose a low-quality HTV brand, the vinyl may be too thick or brittle, making it difficult to weed intricate details without tearing the design. Always test your material settings on a scrap piece of fabric before committing to your final garment. This simple step can prevent ruined shirts and wasted materials.
For those creating stickers or stationery, the choice between matte, glossy, and clear finishes matters more than many realize. A glossy sticker might reflect light in a way that obscures the text of the design, while a matte finish offers better readability but may feel less premium to some consumers. Consider your end-user’s experience. Are these invitations? Business cards? Party favors? The finish should align with the tone of the event or brand.
Material Selection and Compatibility
Not all materials react the same way to heat and pressure. Standard cotton t-shirts behave differently than polyester blends or performance fabrics. Polyester requires lower temperatures and shorter press times because high heat can scorch the fibers or cause dye migration, where the shirt’s color bleeds into the white vinyl. If you are unsure about the fabric composition, always check the care label. When in doubt, start with a lower temperature and increase gradually until you achieve a secure bond without damaging the garment.
Similarly, when designing for jewelry or small accessories, the scale of the Breast Cancer Fighter 4 design becomes crucial. What looks balanced on a tote bag may appear cluttered or illegible on a pendant or keychain. Before you begin cutting, use the scaling tools in your software to visualize the design at its actual size. Zoom out to see the overall composition. If elements are too close together, consider simplifying the design or adjusting the spacing within your editing software before cutting.
Optimizing Your Workflow for Efficiency
Efficiency is key, especially if you are producing items for sale or large group orders. A major mistake is failing to nest your designs properly on the cutting mat. Nesting involves arranging multiple copies of the design as closely as possible to minimize material waste. Most modern cutting software has an auto-nest feature, but manual adjustment often yields better results for complex shapes. Take the time to rotate and position each instance of the Breast Cancer Fighter 4 design to fit snugly against others.
Additionally, pay attention to the grain direction of your material. For HTV, the stretch direction matters. If you are applying the design to a curved area like a sleeve or a collar, ensure the vinyl stretches appropriately to follow the contour. Applying rigid vinyl to a highly curved surface can lead to lifting or peeling over time. Pre-stretching the vinyl slightly during application can help it conform better to curves.
Evaluating Quality Before Finalizing
Before you declare a project complete, perform a rigorous quality check. Look for any missed cuts, partial weeds, or adhesive residue left on the fabric. For printed items, check for banding, pixelation, or color shifts. If you are selling these items, your reputation depends on consistency. A single flawed product can lead to returns and negative reviews, which outweigh the profit from ten perfect ones.
It is also worth considering the longevity of your work. High-quality HTV and proper curing techniques ensure that your Breast Cancer Fighter 4 design survives multiple washes. Follow the manufacturer’s instructions for washing and drying. Generally, turning garments inside out and using cold water extends the life of the print. Educate your customers on these care instructions if you are selling finished goods; it adds value and reduces post-purchase issues.
Final Thoughts on Creative Integrity
The Breast Cancer Fighter 4 design is more than a commercial asset; it is a tool for connection and expression. By approaching the technical aspects of its production with care and attention to detail, you honor the intent behind the design. Avoid the shortcuts that lead to poor results. Invest time in learning your machine’s quirks, selecting appropriate materials, and refining your workflow. Whether you are creating a single personalized gift or a batch of merchandise for a charity run, the effort you put into the preparation phase will shine through in the final product. Remember, the best designs are not just seen; they are felt, worn, and shared with pride.